First things first, lets define some terms.
A cantilever is beam or horizontal structure supported vertically on one end only.
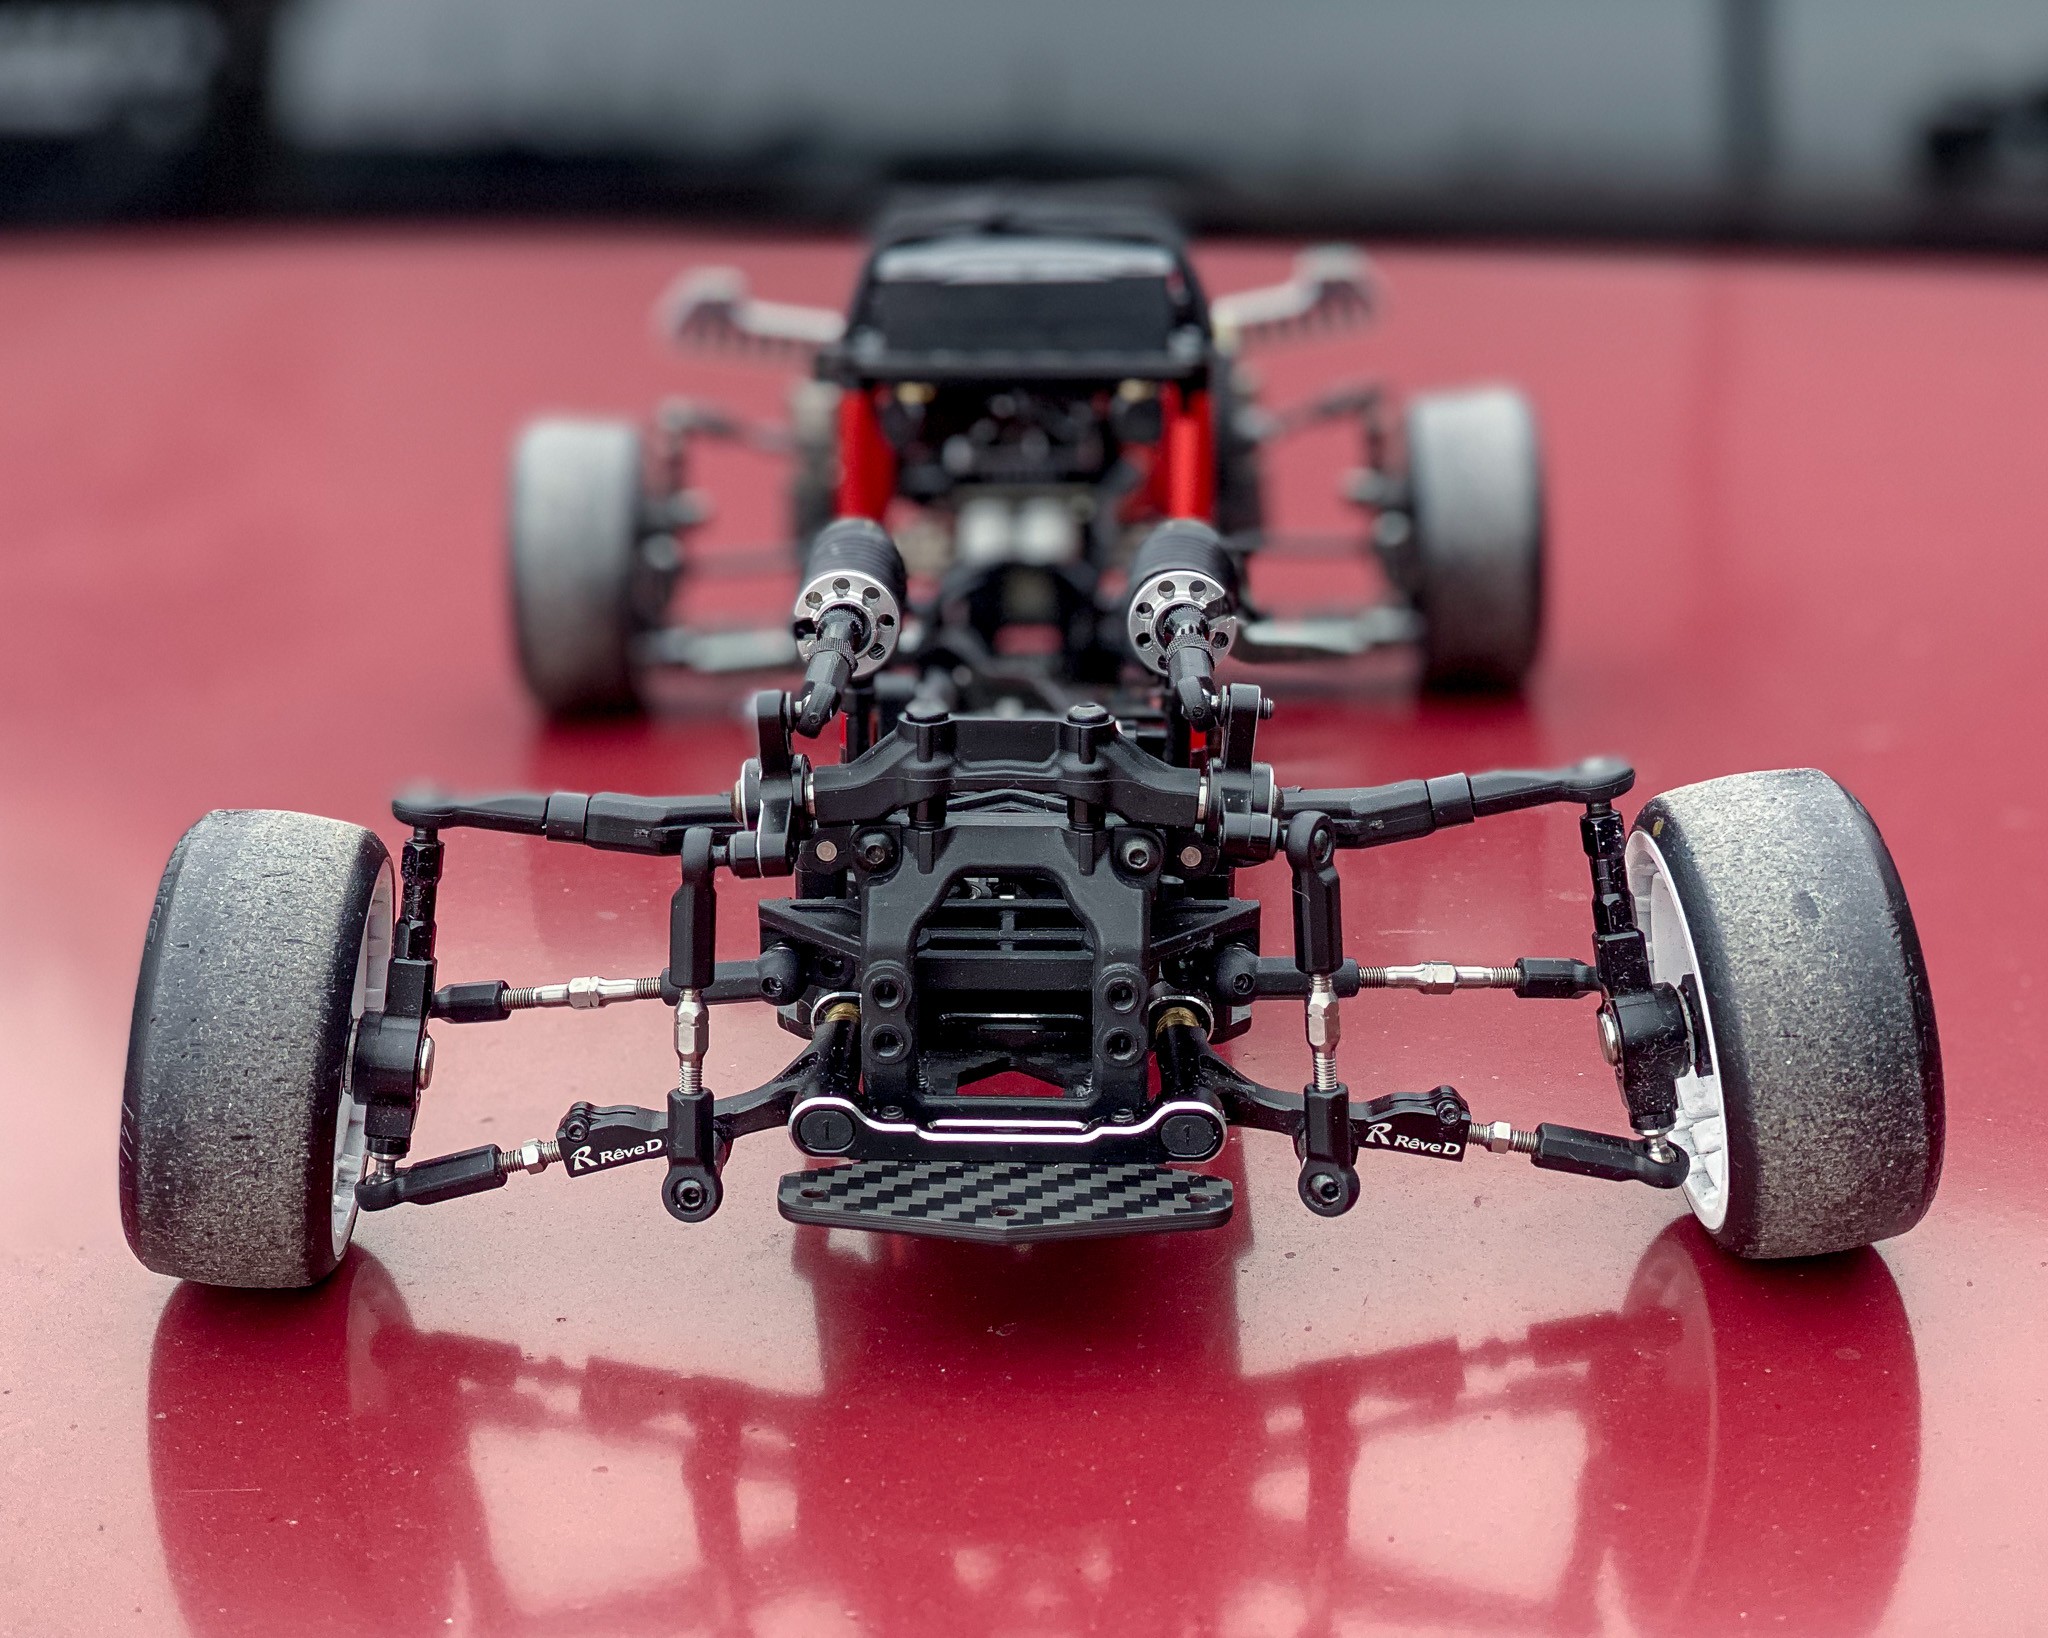
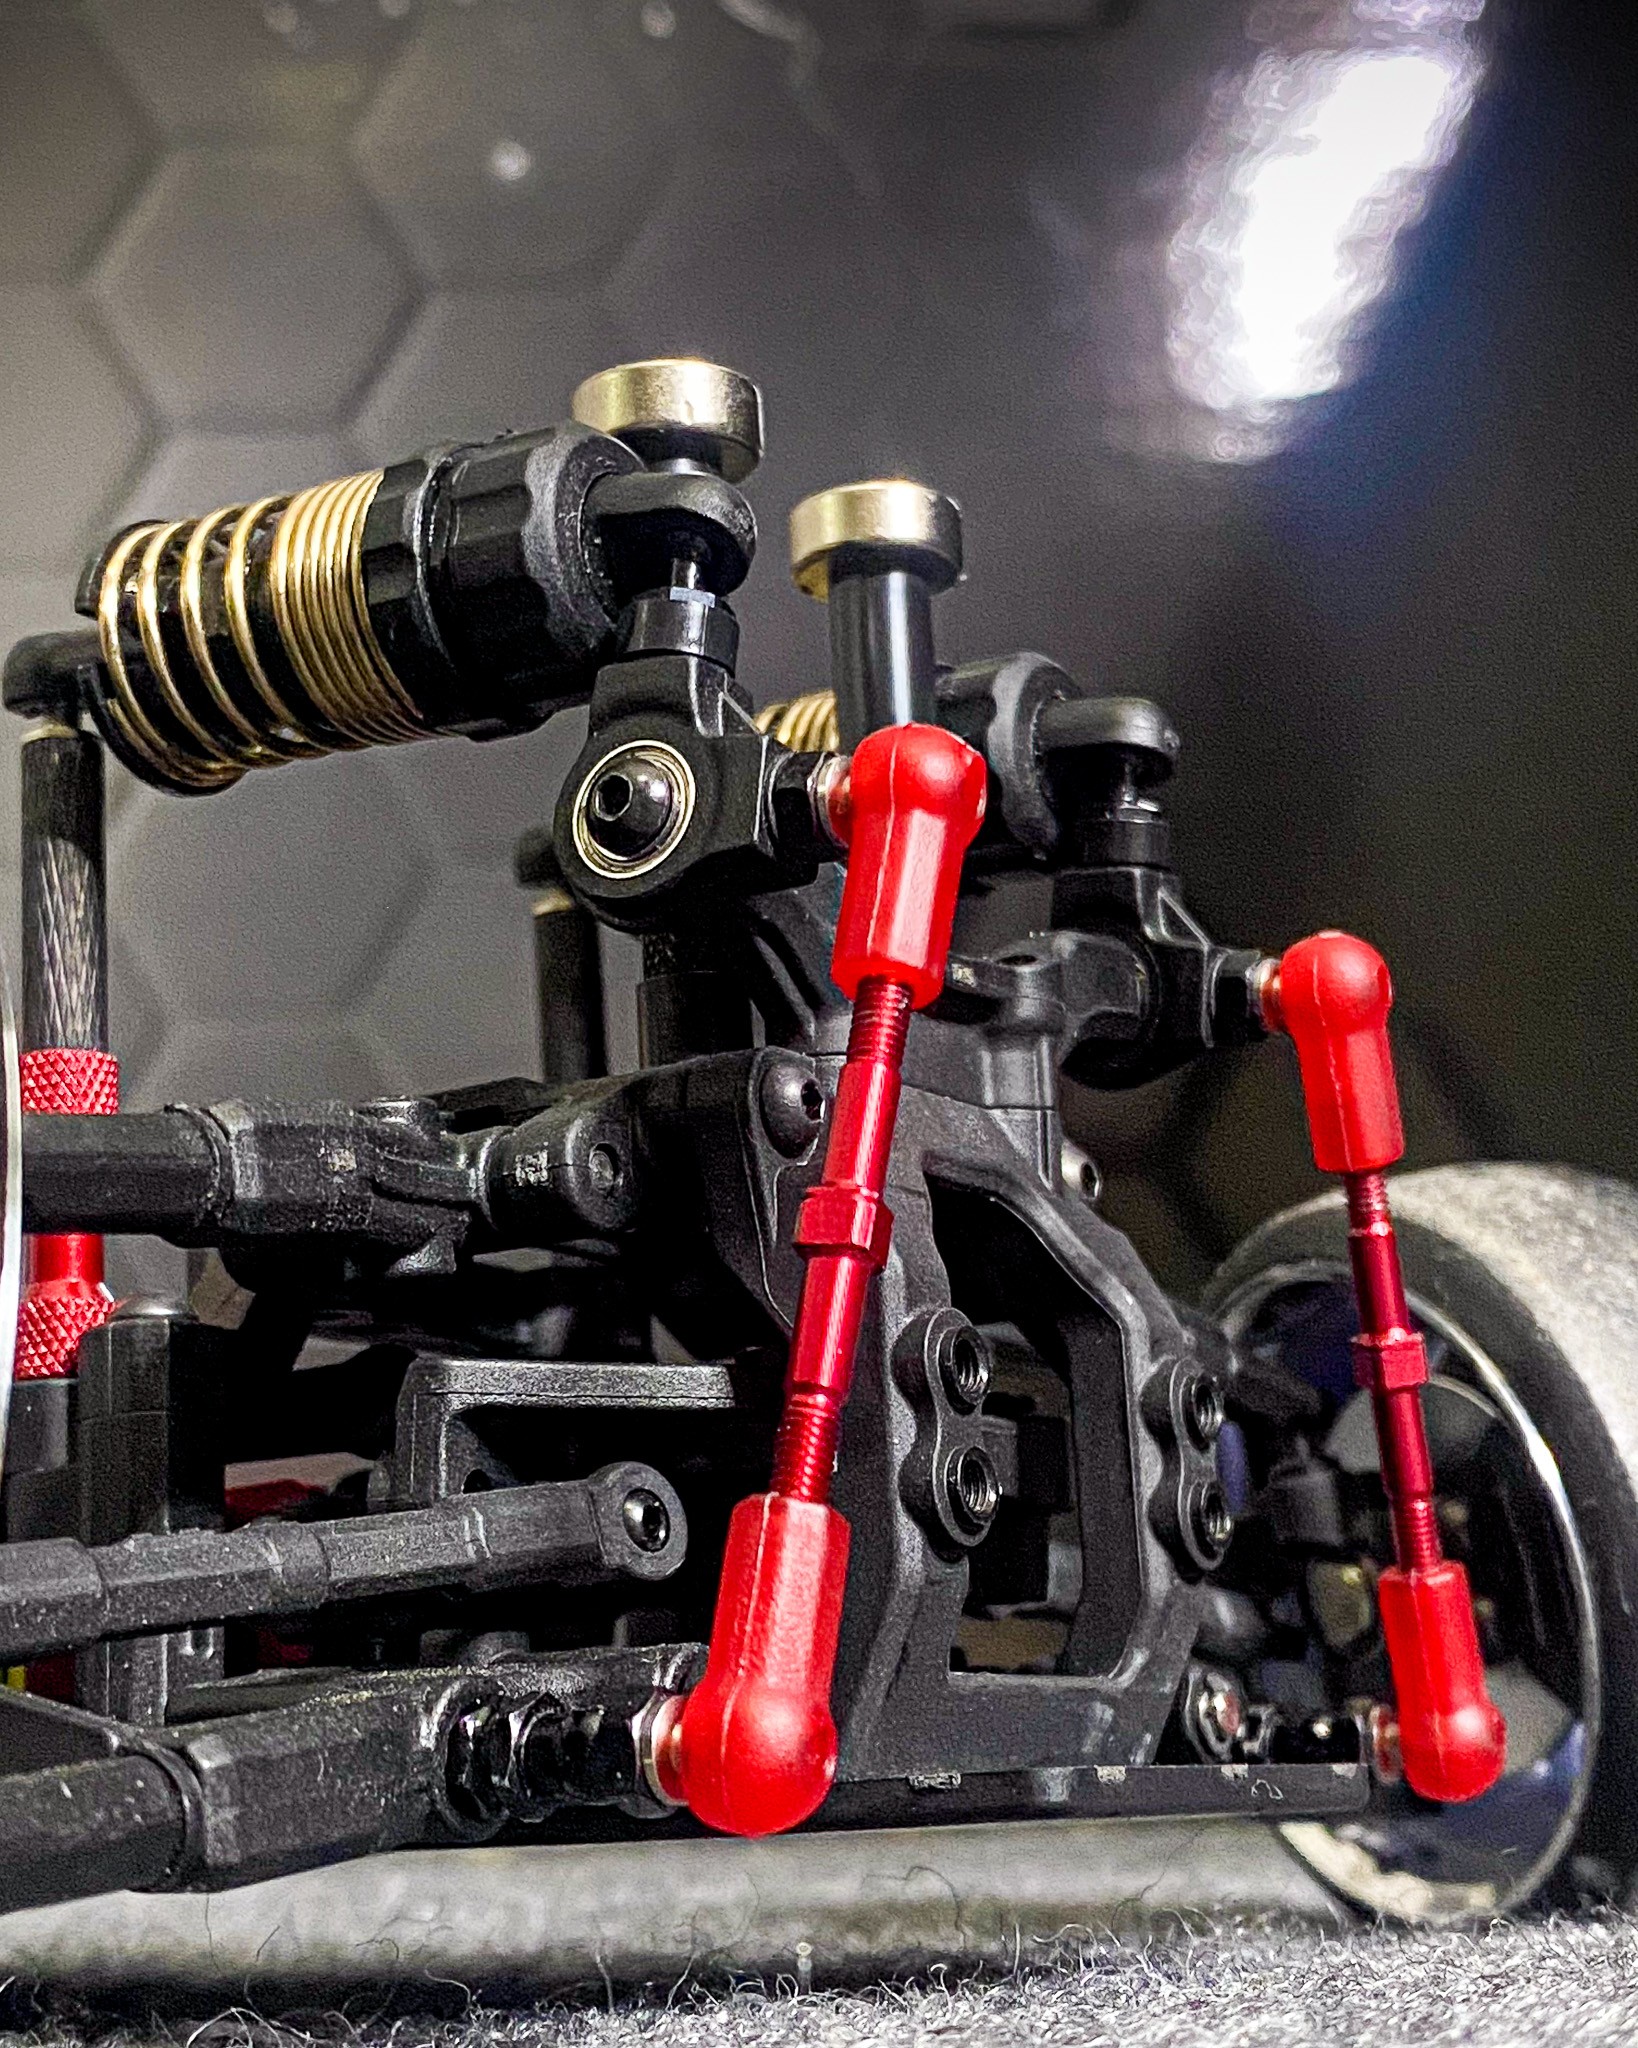
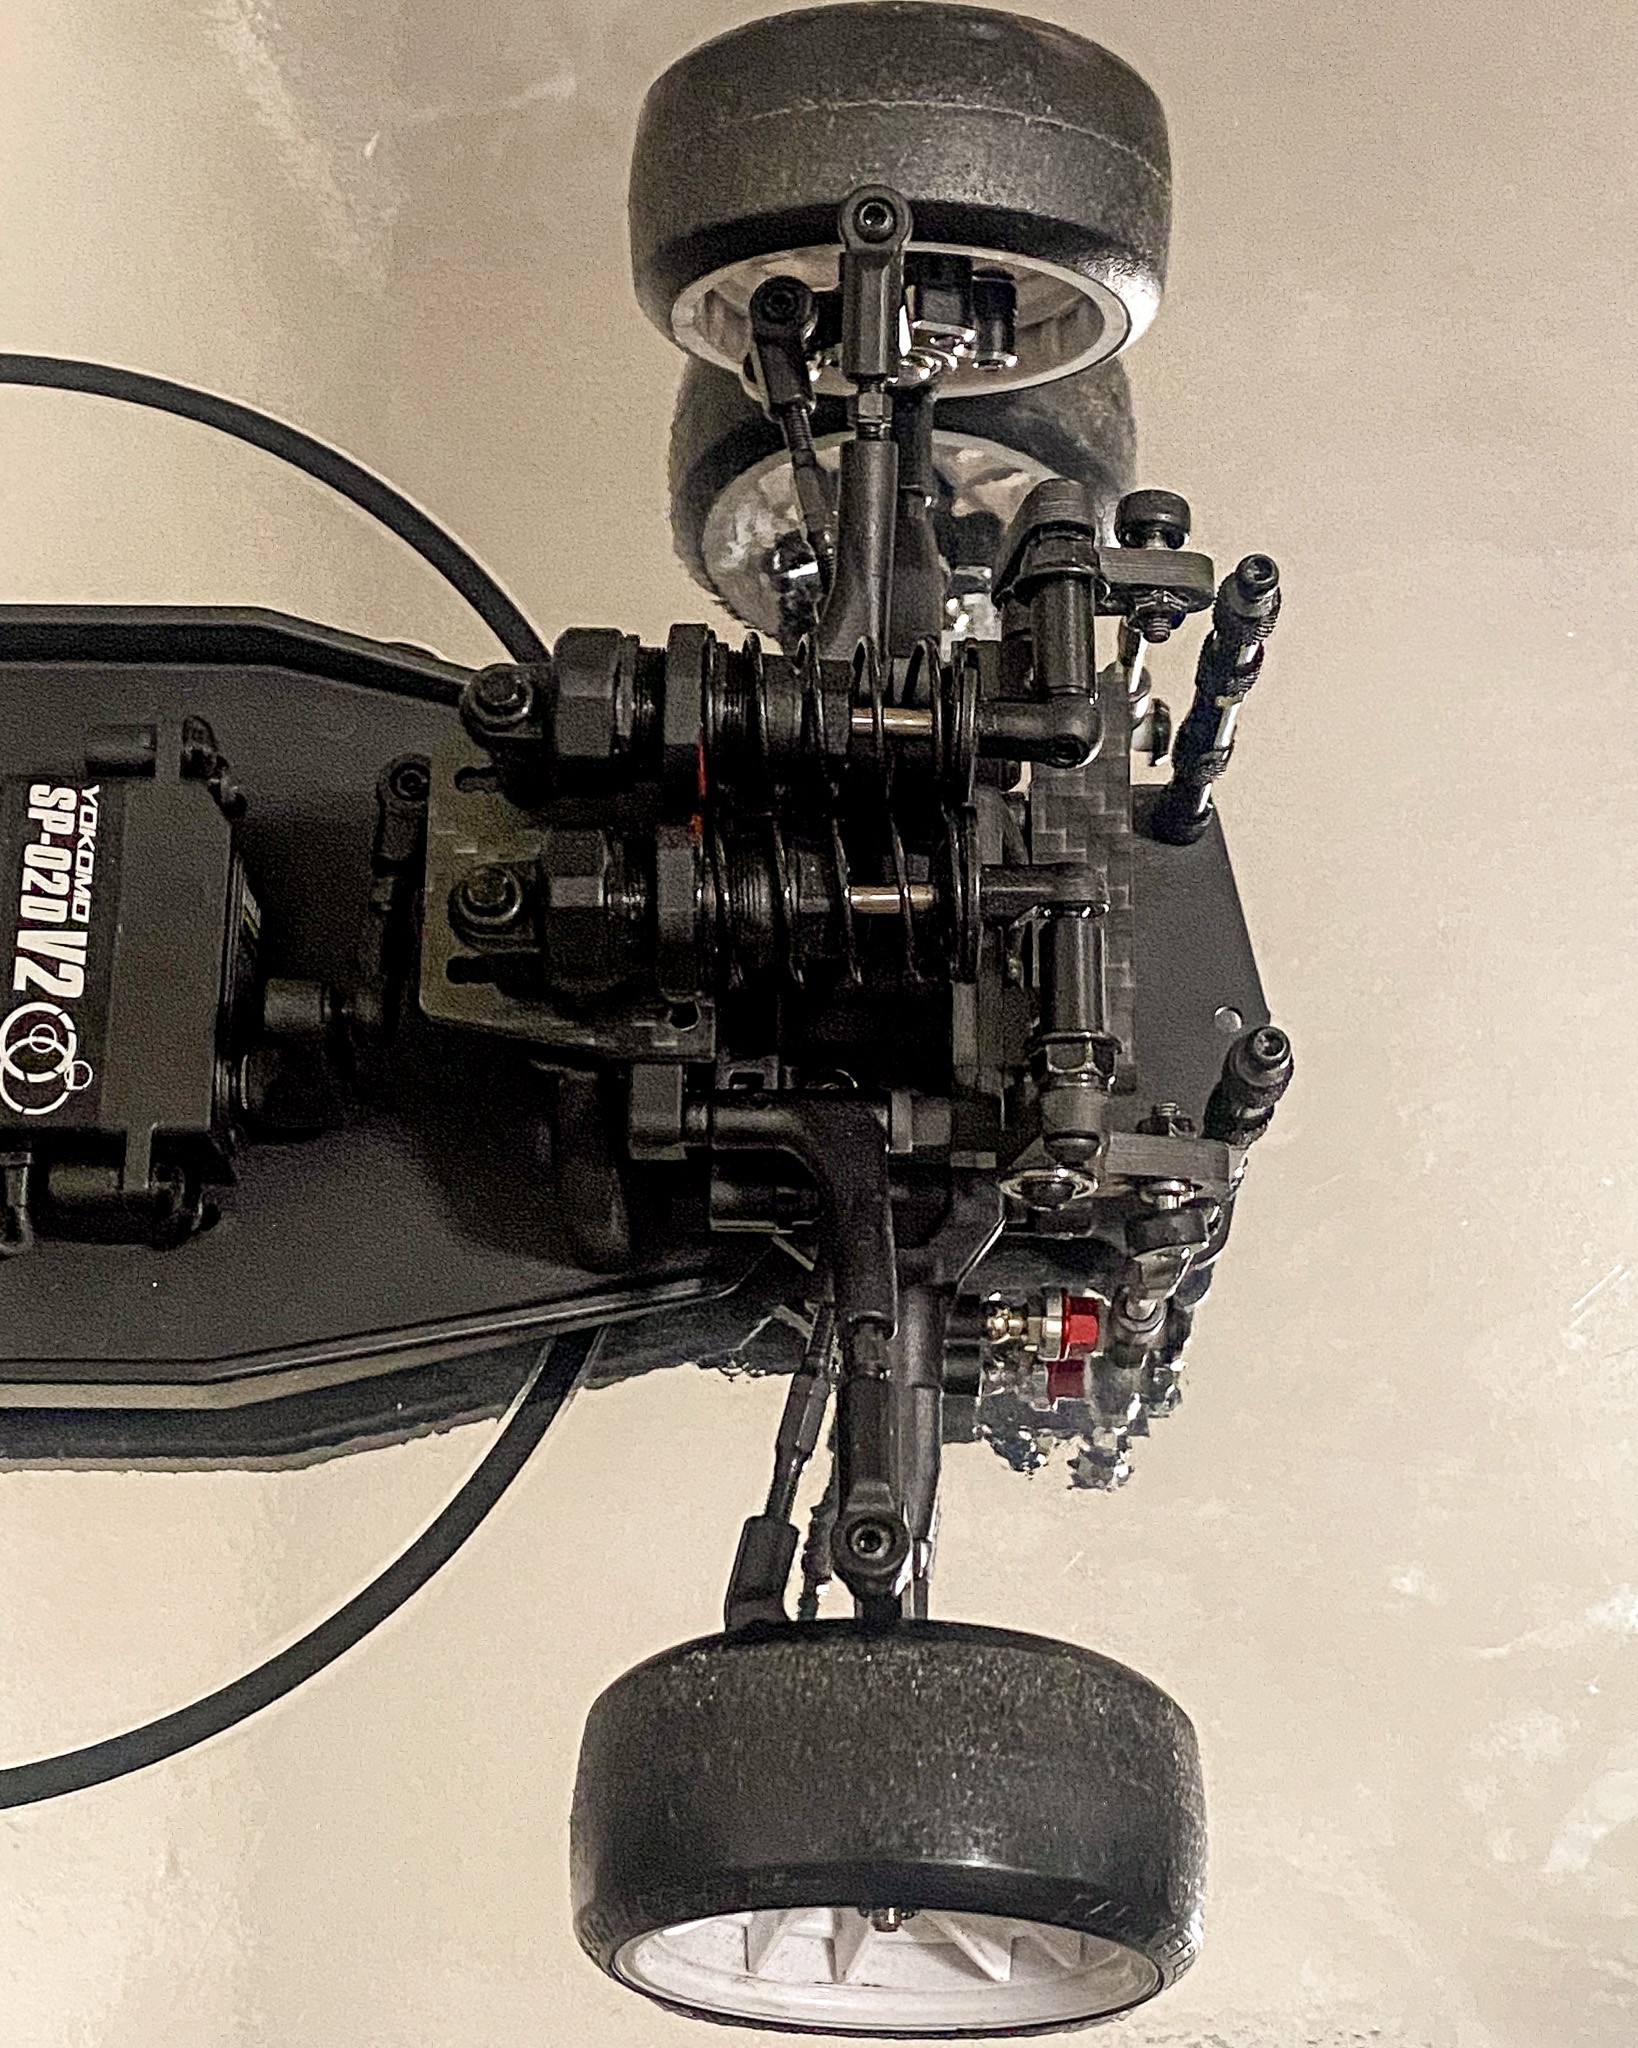
Cantilever suspension uses a rod or a pivoting lever to transfer forces from the wheels to the dampers/shock absorbers. Below are some examples of cantilever suspension.
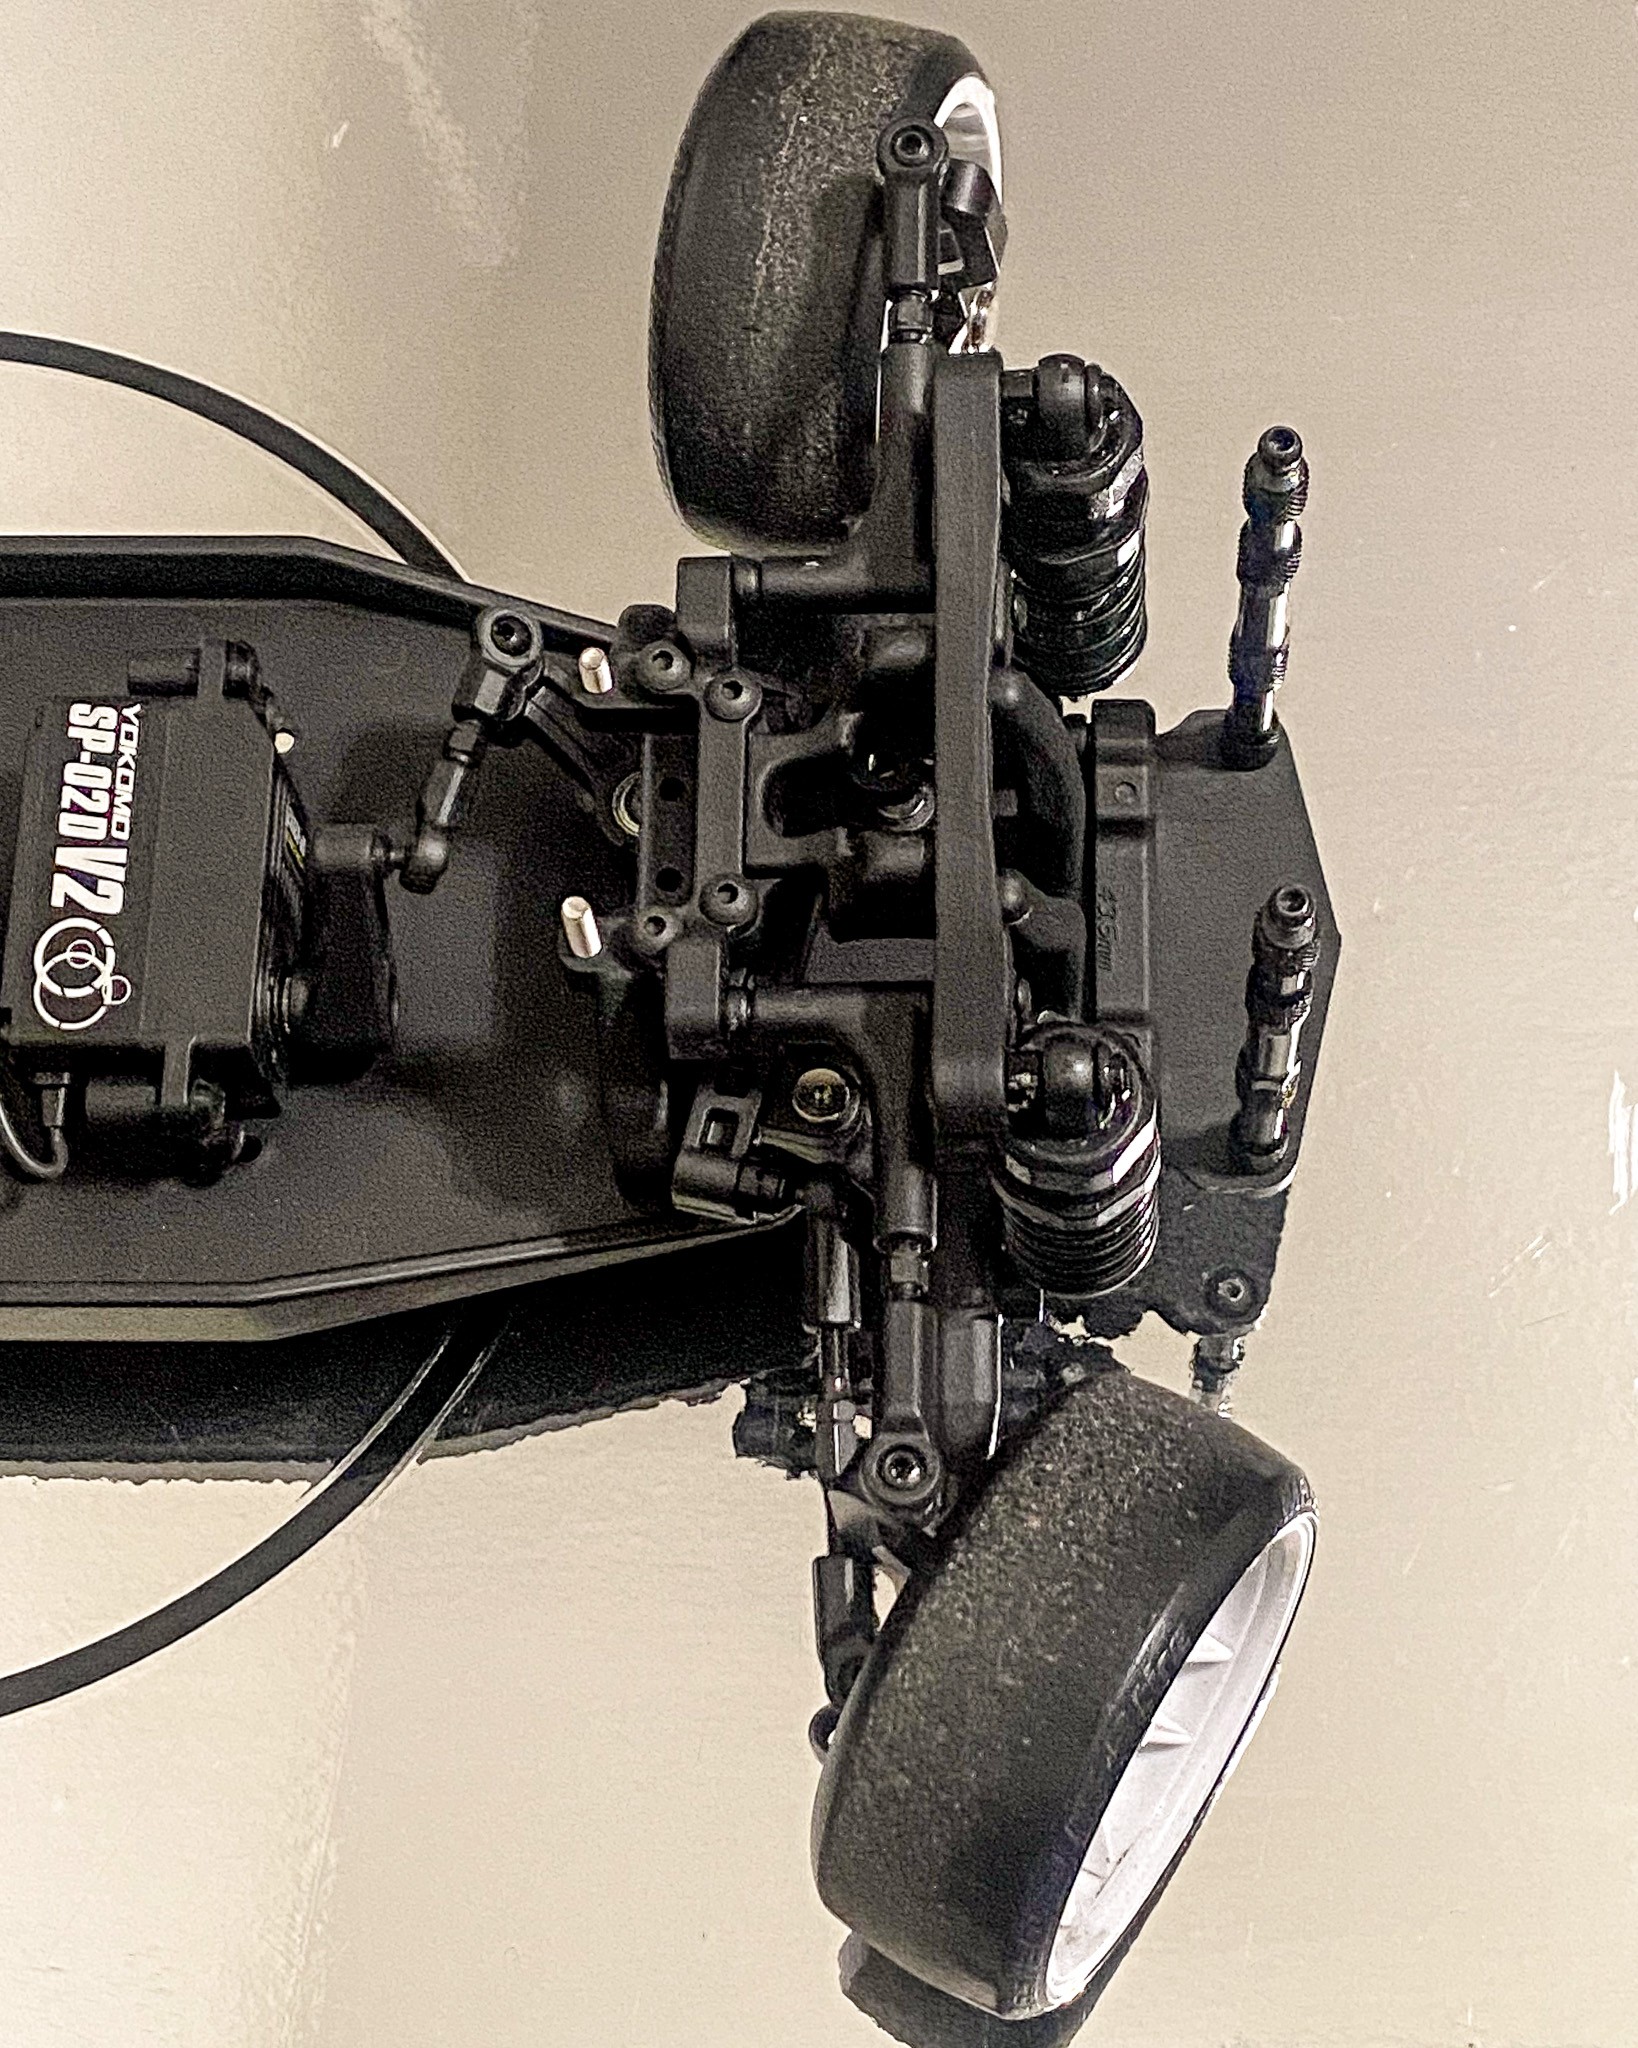
Here is an example of standard suspension to compare.
What are pros in cantilever suspension?
- increased suspension travel
- increased articulation
- isolated tuning features (lever ratio, ride height, and preload)
- more customization
What are the cons?
- complex tuning system
- more components
Typically when you talk about drifting, one of the main aspects is the suspension and how well it has been tuned. From rebound to spring rate, there is no shortage of information on what you should do. Ultimately, the main objective is to have the suspension help your car perform at it's best by allowing weight to transfer where it needs to in the moments its supposed to.
Cantilever suspension can be an option to achieve your desired performance needs but where do you start?

Here is the list of the components in an RC Drift Chassis Cantilever system;
- Damper/Shock Absorber
- Rocker Arm
- Rod/Turnbuckle Link
These 3 components make it simpler to understand the whole cantilever system.
The Damper. Contains a set of components that can be learned about in the suspension guide. All you need to know is that the spring adjuster is for your preload adjustment or better said, the initial force to start moving the damper.
The Rocker Arm. Usually has two mounting options both the Rod and the Damper. The main purpose of the rocker arm is to transfer the vertical force from the wheels, to a horizontal force applied to the damper. Now remember thos two mounting options? Depending on where you choose to mount your damper and rod, determines your lever ratio. Lever ratio refers to the movement of the wheel up or down and the movement of the damper in or out.
- The further away the rod is mounted from the rocker arm, the more mechanical advantage or easier it is to compress the damper. This will also lengthen the total distance the suspension can travel.
- The closer the rod is mounted to the rocker arm, the less mechanical advantage or harder it is to compress the damper. This will also shorten the total distance the suspension can travel.
The Rod. Usually this part is a turnbuckle. It is connected to the wheel by way of the front lower control arm. The rod allows you to adjust your static ride height. Simply increase or decrease the rod's length and the job is done.
Alright, that was a lot of information and I believe its not going to benefit you very much unless you properly utilize it and apply it.
So what is the first step to take when tuning your cantilever suspension? Pick one of the 3 components listed above and adjust it to your liking. From there you can pick another component to adjust. Pro Tip: Only adjust one thing at a time. It allows you to isolate problems or solutions in the tuning process and helps you understand how to achieve your desired outcome for your chassis as a whole.
Now go enjoy tuning your cantilever suspension setup and have a good slide! Stay Blessed!
Here is a video to supplement this guide and give a little more visual and informational aid.